Hello there! I’m Kristen, the ‘broken masterpiece’, and today I’m going to guide you through an exciting and different DIY project. Have an old coffee table that’s begging for a new life? Let’s jazz it up with an acrylic pour to give it character, depth, and dimension.
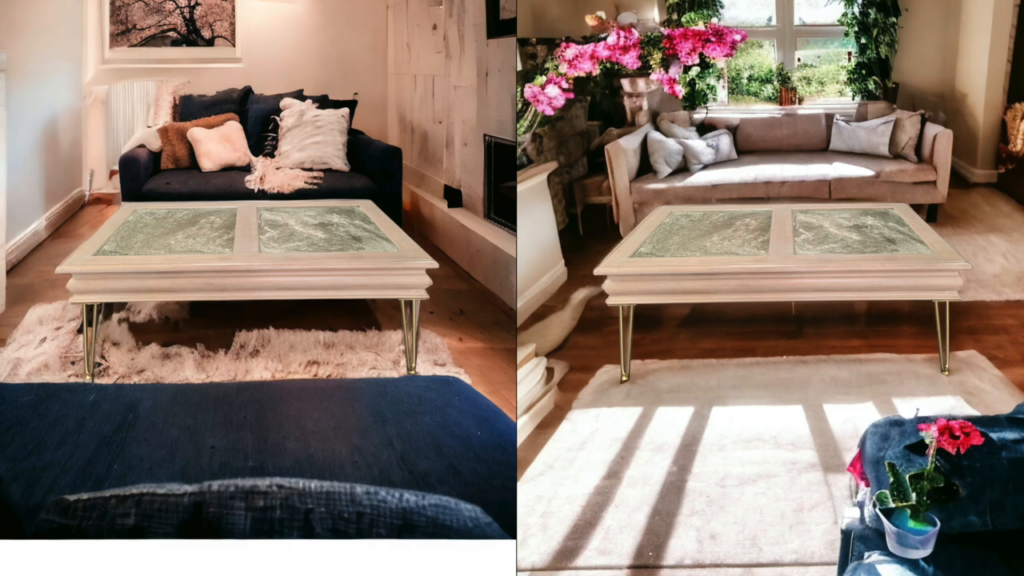
Setup Essentials
Already intrigued about the outcome? Let’s quickly take a look at what you’ll need to get started:
- Acrylic paints or mineral paints of your choice 🎨
- A Mixing medium (I used floetrol, but you’ll see some options soon!)
- Silicone ✅
- Plastic cups and mixing stirs 🥤
For my project, I used Dixie Belle’s cactus green mineral paint, and it turned out beautiful.
The Art of Mixing

Most of your project timeline will be dedicated to just mixing – it’s that important! For my project, I used a mixing medium called Floetrol, but you’re free to experiment with substitutes. However, let me underline the benefits of Floetrol – it doesn’t change the consistency of your paint or its color and maintains the paint flow excellently.
“A common acrylic ratio is one part paint to two parts Floetrol, but always go by how the mix flows. You’ll want it to flow like a top coat.”
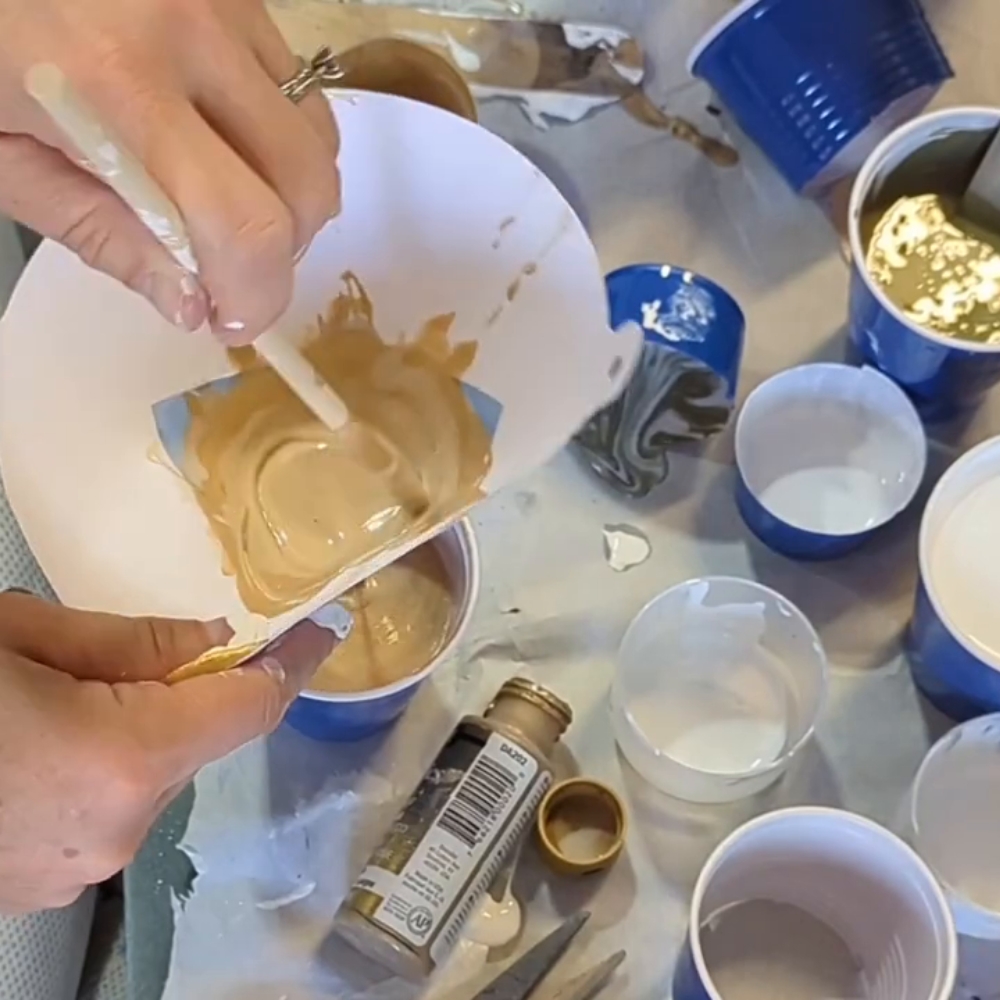
Ensure your paint flows off your stir, neither too fast nor clumping. In my case, I used two gold paints that were pretty thick and needed a significant amount of Floetrol to get a pourable consistency.
Plastic cups come in handy for mixing your paint concoctions. In all probability, you would end up mixing more paint than what you need. But remember, it’s always better to have more than to scramble for another quick mix while your paint is already flowing on the table.
Getting the Paint Ready
Before you pour your mixed paints into your mixing cup, it’s crucial to pass them through strainers. This helps filter out any roughness or stringy things in the paint, ensuring a smooth and flowing mix perfect for pouring.
While doing this, I added Floetrol to let the mix flow through the strainer. I then used dimethicone to create more cells in the acrylic pour. I recommend using 100% silicone which can be bought from Amazon. Simply add about 5 to 10 drops in each cup and then stir it in to create more of those wonderful cells.
Once your paints are strained, ready and flowing, it’s time to get creative and give them a swirl in your mixing cup.

Let’s Pour! Paint Pouring Over the Coffee Table
The magic starts here! Start with your base color. Pour it at the bottom of your cup and then add the other colors. Not all paints need to layer on top of each other – you can add more or less depending on what you want to see.
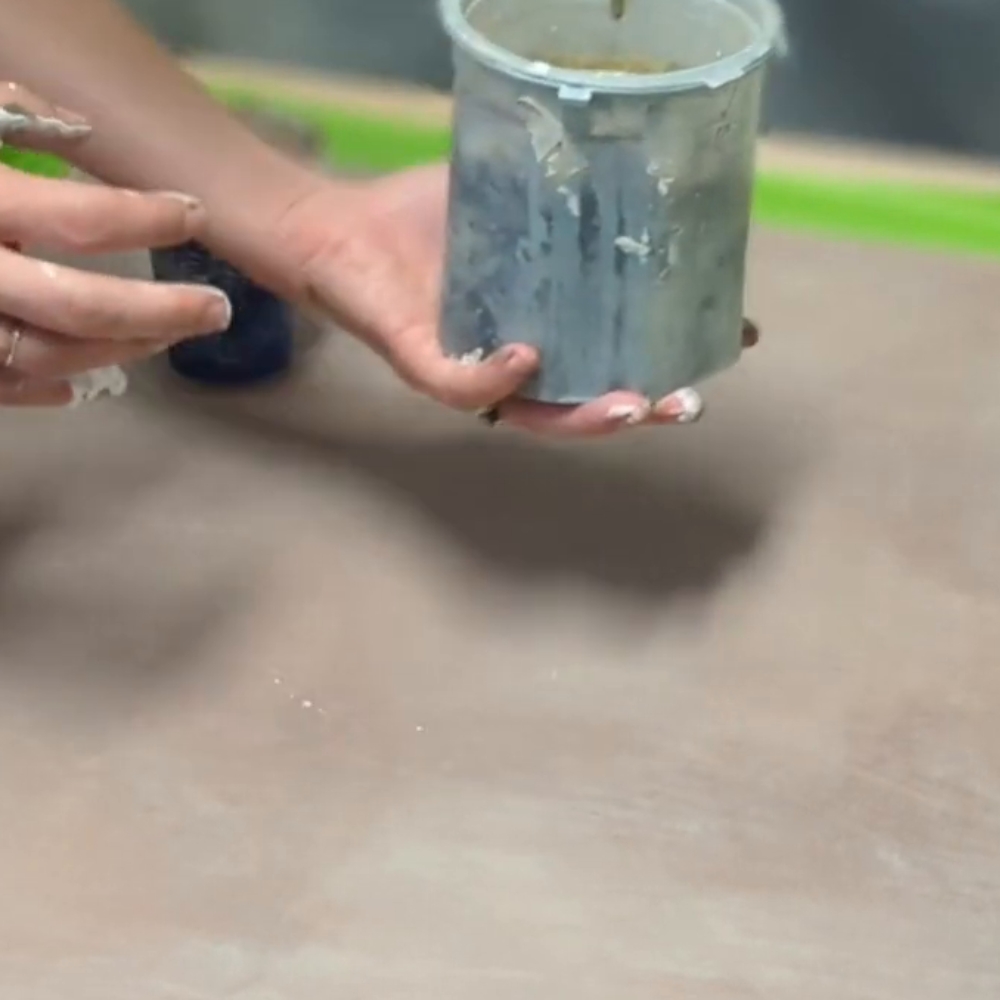
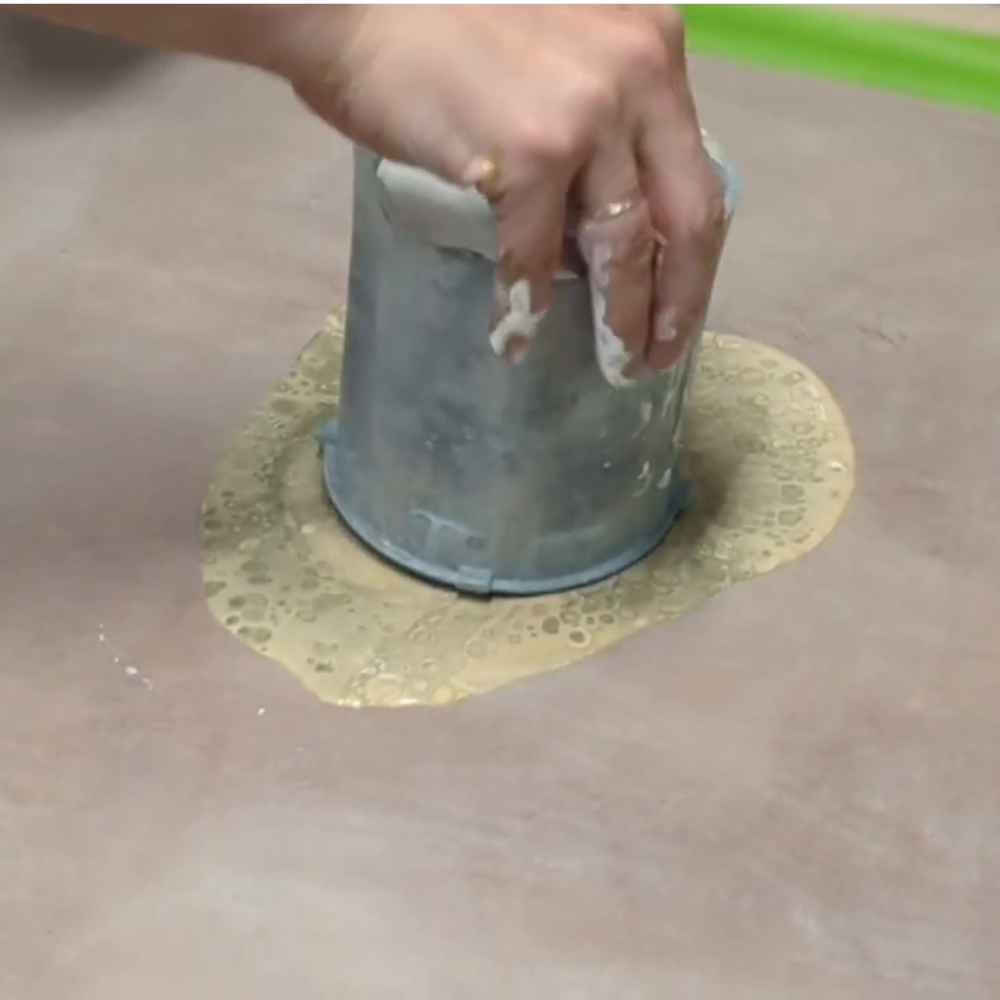
Now comes the exhilarating part! Flip your cup upside down on your table, lift it up, and move it around to spread the paint. Yes, it will splatter, but that’s what makes this technique so unique and unpredictable. You might need more cups of paint, depending on your surface area.
Remember, the paint is self-leveling, which means it will flow around and fill up the gaps and spaces on your table. So it’s essential to prepare slightly less paint than what you need if you’re covering a confined space such as ours.
For my table with two sections, I worked on one side at a time. It’s fun to observe the patterns, cells, and textures that emerge as the paint flows.
Finishing Touches With Your Pour
At this point, bring out your butane torch. Gently hover it over the painting (not too close!) This helps the silicone rise to the top to create more cells and pops any bubbles. For an added touch of sparkle, use gold and silver paint accents. They usually float to the top, creating a shimmering effect.
While drying, ensure the piece is in a clean space where it won’t be disturbed. The drying process can take up to seven days. I recommend leaving it undisturbed as it will dry from the outside, moving inward.
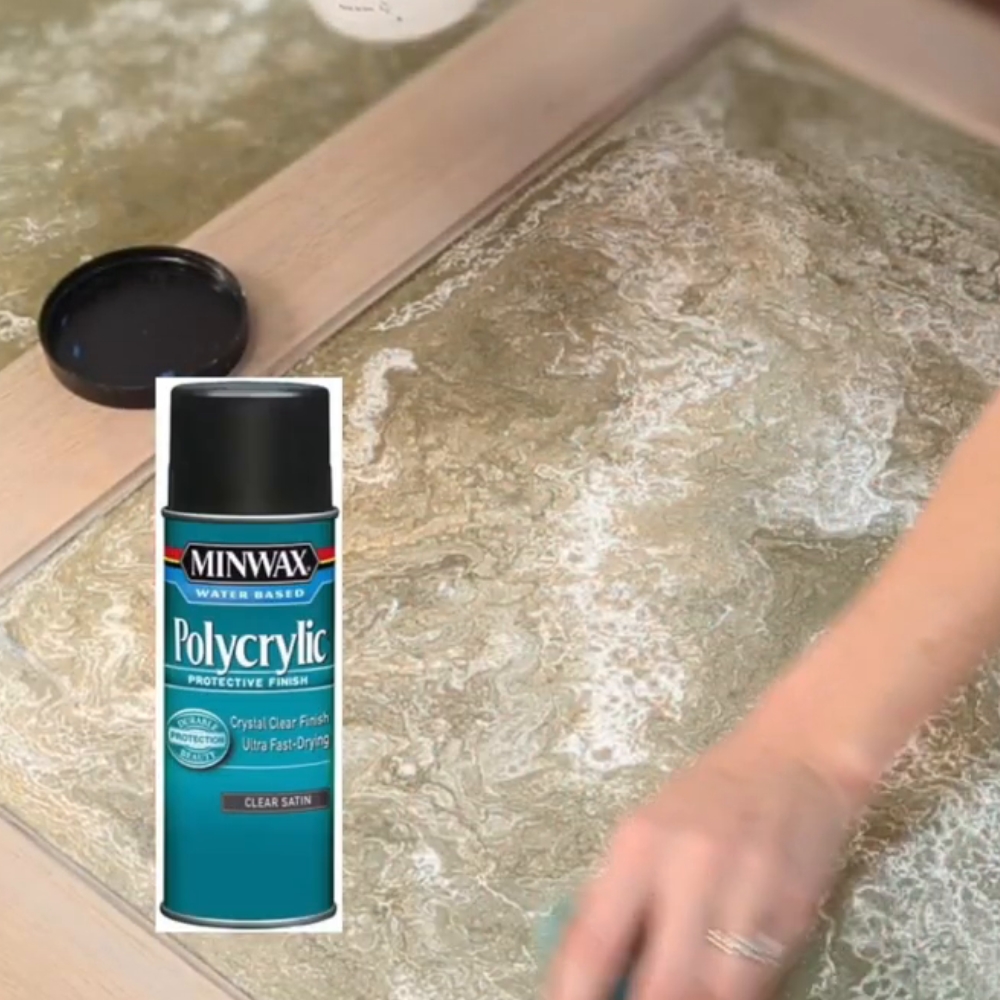
Post-drying period, I applied a top coat of Stellar Shield by Lily Moon. However, you should wait for about ten days before you do this, as silicone can resist adhesion. A pro-tip that worked wonders for me was using a spray can of Polyacrylic from Home Depot and Lowe’s instead of any other sealer. There was no streaks or bubbles!
Showcase Your Masterpiece!
When I was done, I took some photos of it in my garage with great lighting and then put those photos in an app called Photoroom to stage it!! I ended up loving it so much I put it back in my living room! Go check out the video on my youtube page to see the full tutorial! Please comment below if you’d try this at home, and if you do, let us know how your attempt turned out!
